Monday, August 23, 2010

Expressions Vinyl Giveaway


I am super excited to announce that my newest sponsor, Expressions Vinyl, is offering a fabulous giveaway to my readers! They are giving away a $30 gift certificate to one lucky winner. If you own a cricut, silhouette, or other craft cutter, then this is the giveaway for YOU! Maybe you've always wanted to cut vinyl and never tried......this is your chance to sample some of the wonderful products they have available for FREE! I started ordering my vinyl from them a few months ago because of their afforable prices, range of colors, quality, and customer service. My very favorite product they sell right now is the iron on t-shirt vinyl. It is so easy to work with and the finished product is beautiful! No one would ever know it was iron on rather than embroidery, unless they inspected the design closely. Here are a few of the projects I've used the heat transfer vinyl with.........


PERSONALIZED T-SHIRTS


Expressions Vinyl sells Oracal self adhesive vinyl - the same product sold by Provo Craft for super low prices. They offer it in a variety of sizes in over 50 different colors perfect for the CriCut, Silhouette and other craft cutters. They also carry heat transfer vinyl. They ship it out the same day you order it and offer free shipping on orders over $100.

The $30 Expressions Vinyl giveaway will run through Friday of this week and I'll announce the winner over the weekend.
To enter to win, simply leave a comment on this post.
Good luck and Happy Monday!


Thursday, August 19, 2010

Silver Leaf Boxes


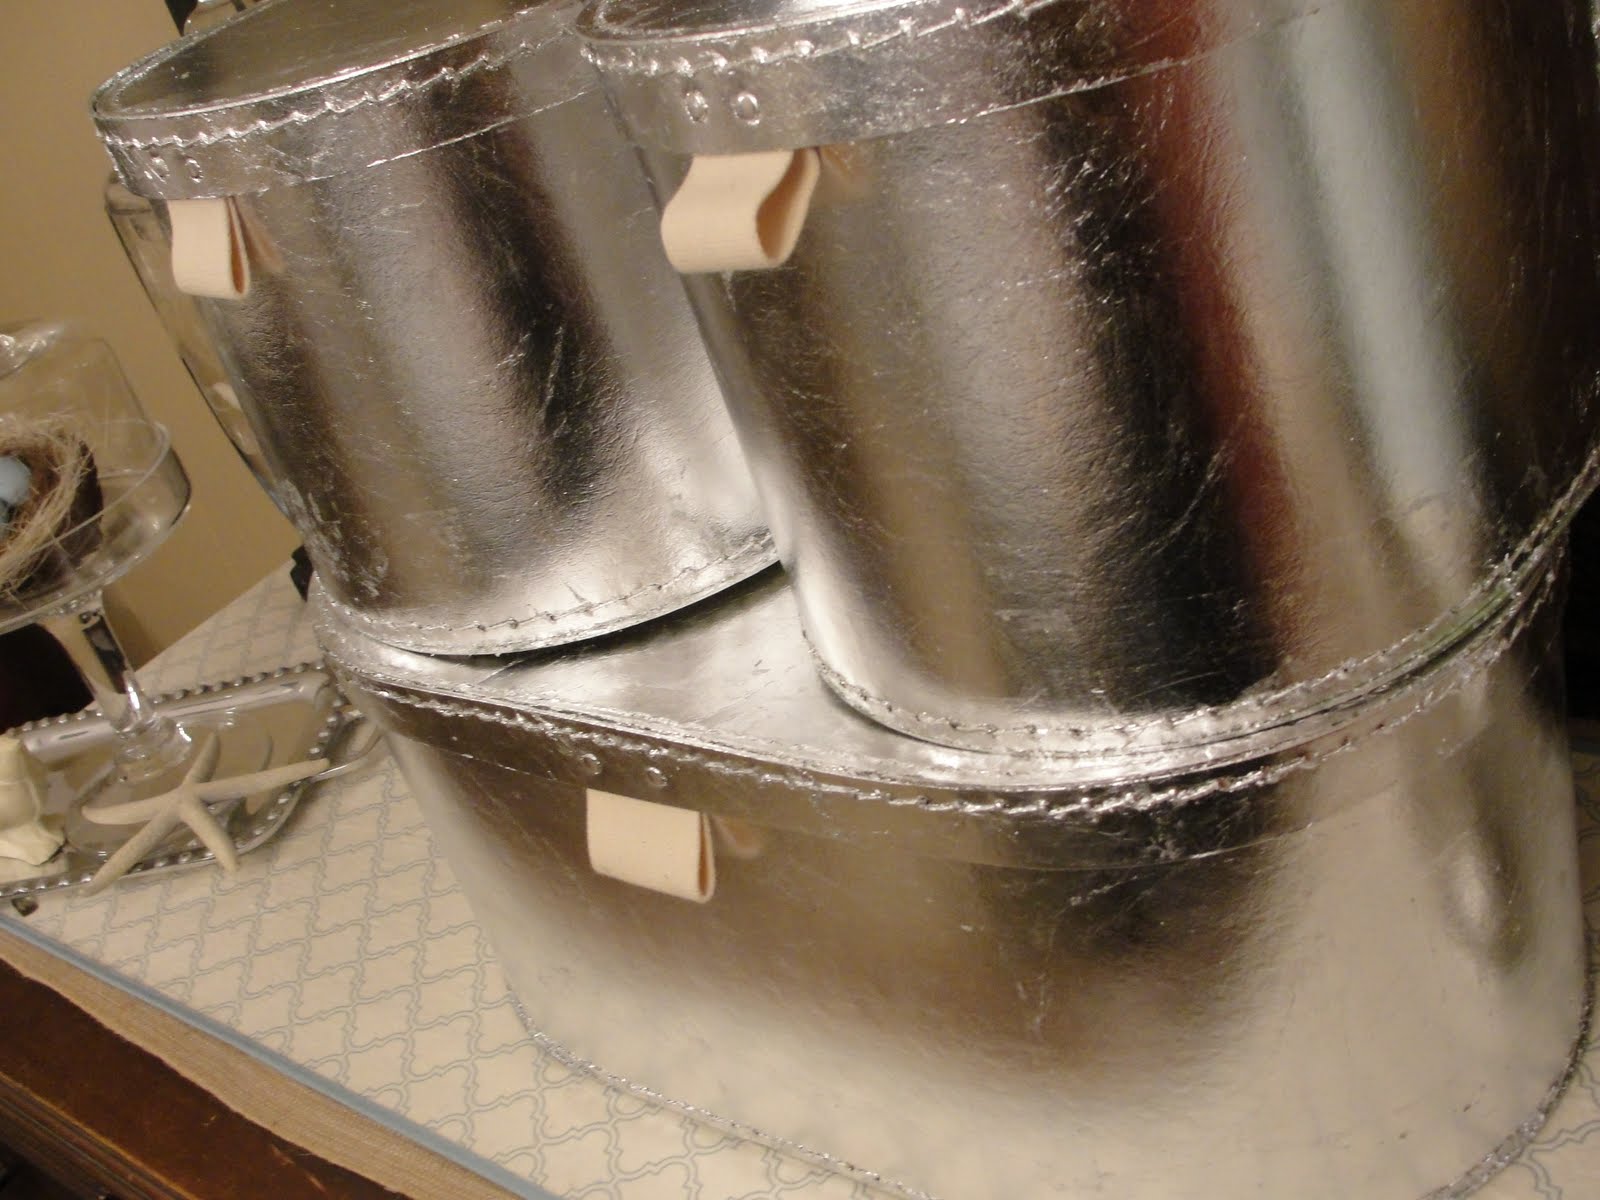
Ok, I am officially in LOVE with silver leafing. I bought a box of 500 sheets several months ago on e-bay with the intention of using it on a piece of furniture. But I am a big fat chicken and have never gotten around to forcing myself to do it. I thought I'd take baby steps and build up to it. My first project was this silver leaf starburst mirror I made out of free paint stirrers. It was a bit sketchy at times, but I muddled through and it turned out pretty good. There is defintiely a learning curve when it comes to this technique, but I am beginning to feel like I have it now. The lovely silver leaf storage box in the above picture was originally a green cardboard box from Ikea.


I've had these boxes for at least 7 years and I love them still, but the green just isn't in my color pallette anymore. They've been hidden in my closet as extra storage. I also have a white set that sit on the shelves above my computer. I believe the set of three was, and still is, $9.99 at Ikea!


Like I said, the silver leaf sheets I got a great deal for on e-bay. The adhesive size I purchased at Hobby Lobby. It is a rather small bottle, bit I think I only used a quarter of it on all three boxes. Basically, you brush on a thin layer of the adhesive and let dry till tacky. Then you ever so carefully lay the leafing sheets on, overlapping just a bit as you go. With each application, you use a soft flat paintbrush to lightly brush away any excess leafing. It is not hard, but definitely a tedious process with a learning curve. Practice makes perfect, they say!


I am sooooooo in lust with these boxes now. I love how the silver leaf even picked up the texture of the boxes. And I was surprised to see how the leafing adhered to even the thread stiching around the lids and base. The fabric pulls, I tucked under the lid so that they would remain intact.


WARNING:
This is an extremely messy process! Be prepared to have silver bits in your hair, on your clothes, and pretty much covering every single surface in your home. Unless of course, you're super smart and decide to tackle this kind of thing outside!


Swoon.....I am in love with a cardboard box!


I replaced my white set for this picture to see how they'd look against my chocolate brown walls. I'm not loving it, so the white ones went back up. However, I have big plans for these gorgeous boxes in the near future!


They will be going on the shelves (that sit half finished in the gargage) above my work table. I believe this half finished project thing is becoming a disturbing theme around here. It seems everywhere I look, I see unfinished projects belonging to me or my hubby. We are sick, sick people and just might need an intervention.


I want to use this starburst mirror I made in my workspace as well. I think it will compliment the silver leaf boxes perfectly! Now, if I could only finish this project to completion we'd be in business. Wish me luck, ask me about it frequently, and keep me accountable people!!!


Wednesday, August 18, 2010

The Hiatus is OVER!


I bet you're all thinking I've packed up and quit blogging, right? Nope......just over-extended and lame! This last week has been a whirlwind of excitement and chaos and some sadness too. My sweet 4 year old who loves to talk and sing and play and learn, started pre-school. She's as happy as a clam and comes home bubbling over with excitement to tell me all about it! I had to take this picture of her blinged out school shoes......they are precious and soooooo her.


Remember the two quilted bags I teased you with and said I'd be back the next day to show you the finished product??? Yeah, obviously that didn't happen. But better late than never, right? I used the iron on vinyl sheets (from Expressions Vinyl) I told you about in this post, to
personalize this cute backpack. I love that it looks like it's machine embroidered. You'd never know the difference unless you really inspected it closely. My trusty cricut and this iron on vinyl are my new obsession!


This little hipster bag, I monogrammed for my Mom. If you know her well, then you know how much she loves a small black bag she can wear. I'm pretty sure she owns at least 74 of them.


This sweet lady and this precious man left this morning for an 18 month mission in Santiago, Chile. Their 5 children and their spouses, along with 17 grandchildren were all there to see them off. To say there were lots of tears and sadness would be an understatement, but more than that, there was abundant love and intense pride! I am so proud of my mom and dad. They are the best people I know. It was so hard to say goodbye to them today, but I am comforted with the knowledge that they are doing God's work and that they are in His hands.

ADIOS, Elder y Hermana Pack!!!


Wednesday, August 11, 2010

Fun With Feathers


I love me some feathers. I think they are the perfect accessory in home decor, as well as fashion!


My latest project began when I found this precious canvas clutch at Hobby Lobby. It comes from a new line called "Me & My Bag". They have aprons, purses, tote bags, bibs, and more. And to sweeten the deal, they are all half off this week. I paid $2 for the clutch.....what a steal!


I decided to use some feathers to gussy it up and make it a real show stopper.
{If your initials are HSM, please avert your eyes because it may or may not be a birthday gift.}


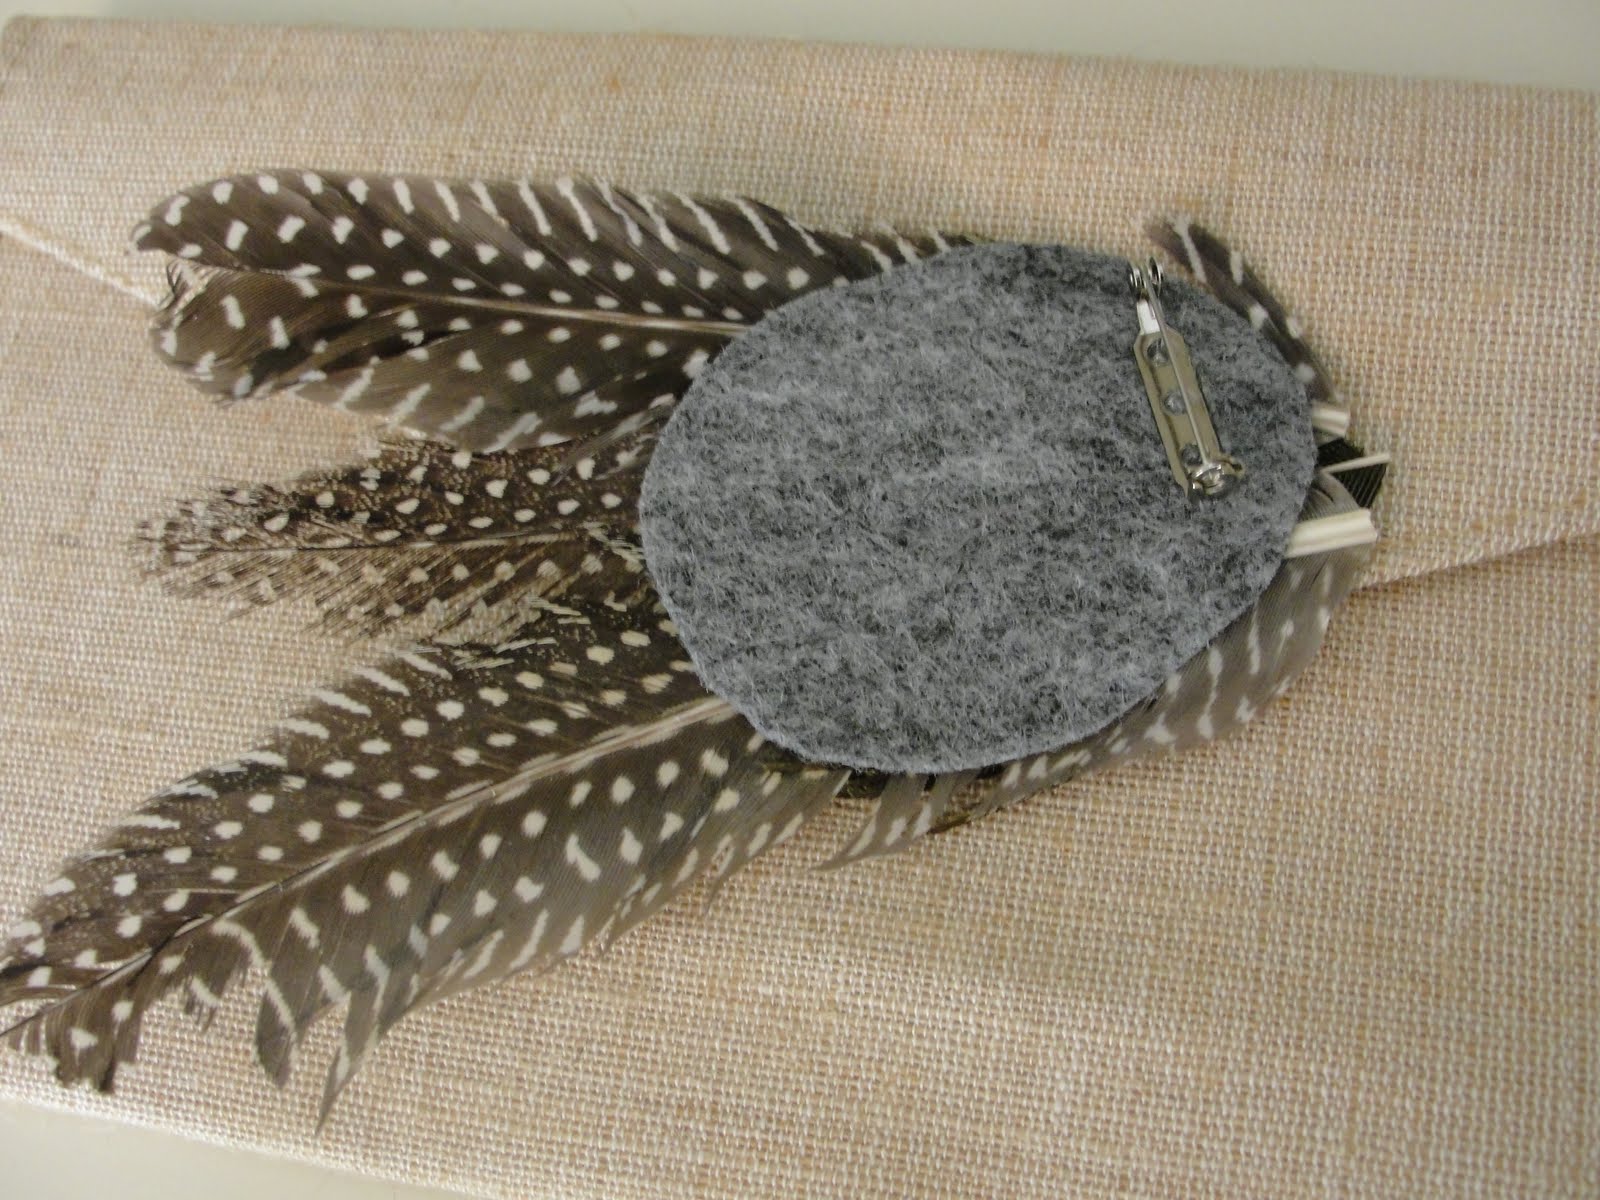
To make it a bit more versatile, I decided to add a pin to the back instead of gluing the feathers right onto the clutch. This way it can be used as an embellishment on the bag or be taken off and worn as a brooch. You could also add a clip to the back and use it in your hair too!


I think the end result is wicked cute!


These quilted bags are from the same line that's half off.....both less than $5 after the discount. Be sure and come back tomorrow when I show you what I'm doing with these beauties!


Tuesday, August 10, 2010

Wooden Spoon Puppets


A few weeks ago, while waiting in line at Hobby Lobby, I picked up a book on kid's crafts. They had some of the funnest, cutest, most ingenius ideas I'd seen for kids. Alot of the crafts I see geared toward kids are pretty useless, and end up in the trash within a day or two. Which is the whole reason why I steer clear of them. But when I saw these adorable little puppet people made out of wooden spoons, I fell in love. I have two girls who love imaginative play and I knew they would love these fun puppets as well.


I started by "borrowing" two wooden spoons out of the hubby's camping gear. Then I used barbie clothes to trace a template for the dress. I cut several strings of yarn to the length I wanted their hair to be, tied a knot in the center, and hot glued the knot onto the spoon. The rainbow hair I left straight, but the brown one I braided into pigtails. I added pearls to make buttons and a necklace, some googley eyes, and a hot pink fabric pout for the lips......simple and cute!


I had no idea how wildly popular they would be, until Emma woke up this morning. She noticed them immediately sitting on the counter and gasped. Then she said, "Oh Mommy, WHAT are these"? When I told her I had made them for her to play puppet theater with, I'm pretty sure she squealed with delight. She took them and ran back to her room to get started.


I had so much fun seeing the girls play with their new wooden spoon puppets and watching their creativity soar.


If you like kid's crafts, be sure and stop by The CSI Project this week. That is our weekly themed challenge and the link up begins today. We'd love to have you come and link up your favorite kid craft projects or just stop by and say hi!


Thursday, August 5, 2010

Iron On T-Shirt Vinyl


I think I have found one of the coolest products ever! I may be way behind the rest of the world and the last one to know about it, but that's ok. I'm good with that. If you have a cricut or silhouette machine, then you absolutely positively must get some iron on t-shirt vinyl. It is so fun and full of possibilities. I have been ordering my vinyl from Expressions Vinyl recently. They have a great selection of colors and they ship quickly. So, when I noticed this new product they were offering, I was curious to see if it lived up to the hype. Guess what.....it does! I whipped out 2 stinkin adorable t-shirts tonight in less than 30 minutes. Here's a rundown of how easy it really is.


I started with a simple cotton onesie from Walmart ($2.50)


I used my cricut and sure cuts alot software to design and cut out the vinyl. One very important tip.......you must spell everything backwards and use the flip function on your machine. Everything is done backwards with the iron on vinyl because the machine actually cuts it from the back rather than the front with regular vinyl. You even apply the vinyl wrong side up on the cutting mat, too. It's a bit different than cutting regular vinyl, but easy once you catch on.


There is a clear plastic backing on the vinyl that works as the transfer paper. You iron right on top of it and then peel it away once the vinyl adheres to the material....about 10 - 15 seconds.


And the finished product is this custom personalized onesie! Isn't it adorable?


Earlier today I picked up this little t-shirt for a couple bucks to play around with and see what I could create with my newest obsession.....iron on vinyl!


Ummmmmmm.......hello! How cute is this? I actually layered two different colors of vinyl on top of each other. I wasn't sure it would work because it says the vinyl is for use on fabric only. I tested two small pieces on a ratty old t-shirt I use for cleaning and it worked like a dream.


I can hardly wait to put this outfit on Ava tomoorrow! The only problem is that I don't have one for Emma.....she will NOT be happy with me. I guess that's a great reason to make another cute t-shirt, right?


This how to video from Expressions Vinyl is very helpful and quite informative. If you plan to use this product, I suggest watching it before you start. Good luck, have fun, and let me know if you make something with iron on vinyl.....I'd love to see it!


Tuesday, August 3, 2010

Wedding Mania!


My sweet niece, Lauren, is getting married this weekend. It is wonderful to see the beautiful, kind, talented woman she has become. But I think I will always think of her as Lolo.....that precious freckle faced red headed baby with a raspy smoker's voice. What a doll! I am thrilled for her, and love to see her so in love and happy. I consider it an honor to be able to help with her wedding in any way I can.


I made these simple monograms to cover the ribbon seams on these beautiful square glass vases. Imagine them filled with split peas and gorgeous blue hydrangeas. I think these centerpieces will be perfect.....simple, yet elegant!


I made these rosettes for her bridesmaids. The wedding colors are chartruese green and navy blue.....I adore this combination! In real life the green on these rosettes is much brighter. I think they will add a great pop of color on the girls' navy blue dresses. My sisters and I got together a couple weeks ago and made 80 of these to pin onto the chair sashes. We pulled a late nighter, but we finally got them all done. Oh, and did I mention that the ones we made for the chairs were twice this size?


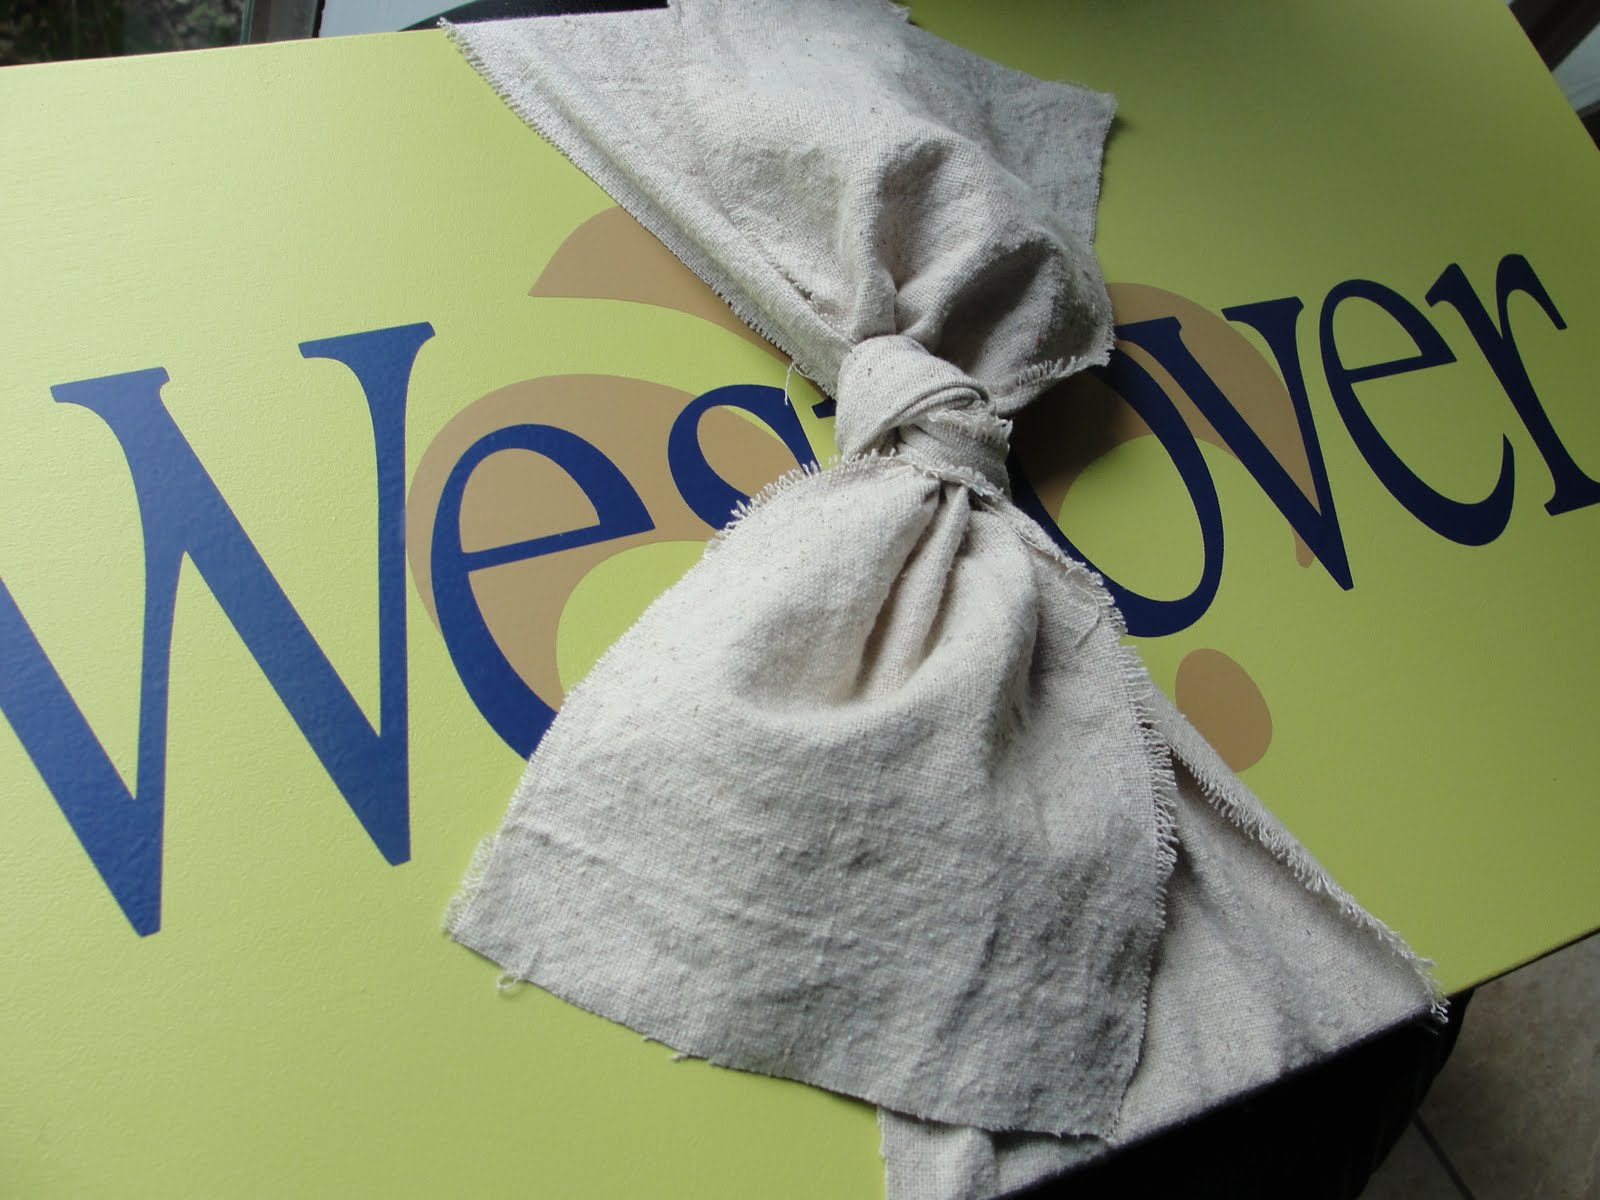
Tonight was her bridal shower and I really wnted to make something special for her. Since her wedding colors are also the colors she wants to decorate with, I decided to incorporate navy and green into my gift. Again, the lighting makes this green look dull, but it is so pretty in real life.


I used a scrap of canvas drop cloth to tie up the sign. That is my newest use for all the fabric remnants I have lying around. I love the texture and this natural color goes with absolutely everything. It's a nice alternative to your standard bow.


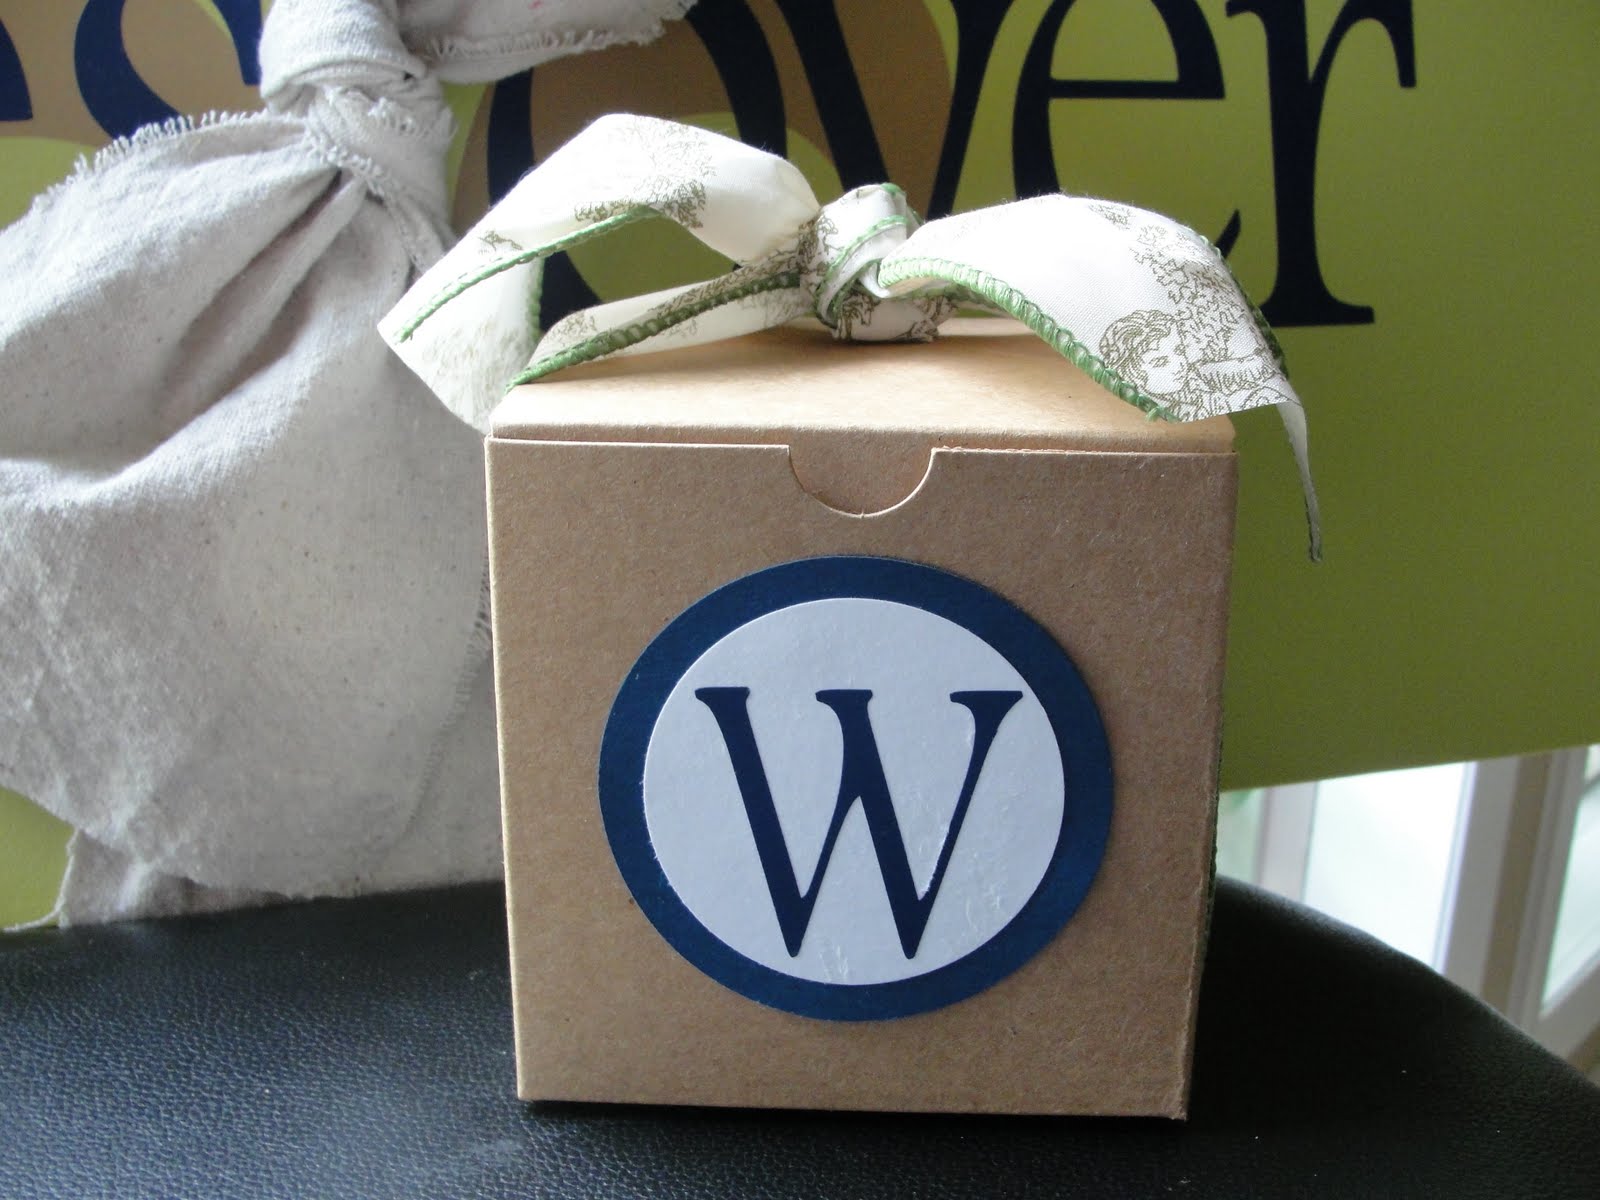
I also made her a personalized Christmas ornament for their first Christmas together. I used a leftover monogram label on the front of the box and tied it up with green toile ribbon.


Because I'm lazy and forgetful, I forgot to take a photo of it. But it looks exactly like this one with a different name. I hope she liked her handmade personalized gifts from the heart. Those are by far my favorite kind of gifts.....to give and to recieve!


Related Posts Widget for Blogs by LinkWithin